20-Minute Home Workout For Beginners: Time-Saving Full-Body Routine
- February 28, 2026
- 0
Most people who want to get fit don’t fail because they’re lazy. They fail because life gets in the way. Between work, family, commutes, and the general chaos
Most people who want to get fit don’t fail because they’re lazy. They fail because life gets in the way. Between work, family, commutes, and the general chaos

Most people who want to get fit don’t fail because they’re lazy. They fail because life gets in the way.
Between work, family, commutes, and the general chaos of everyday life, carving out an hour to exercise feels impossible. So instead of doing something, many beginners end up doing nothing, and the gap between “I’ll start Monday” and actually starting keeps growing.
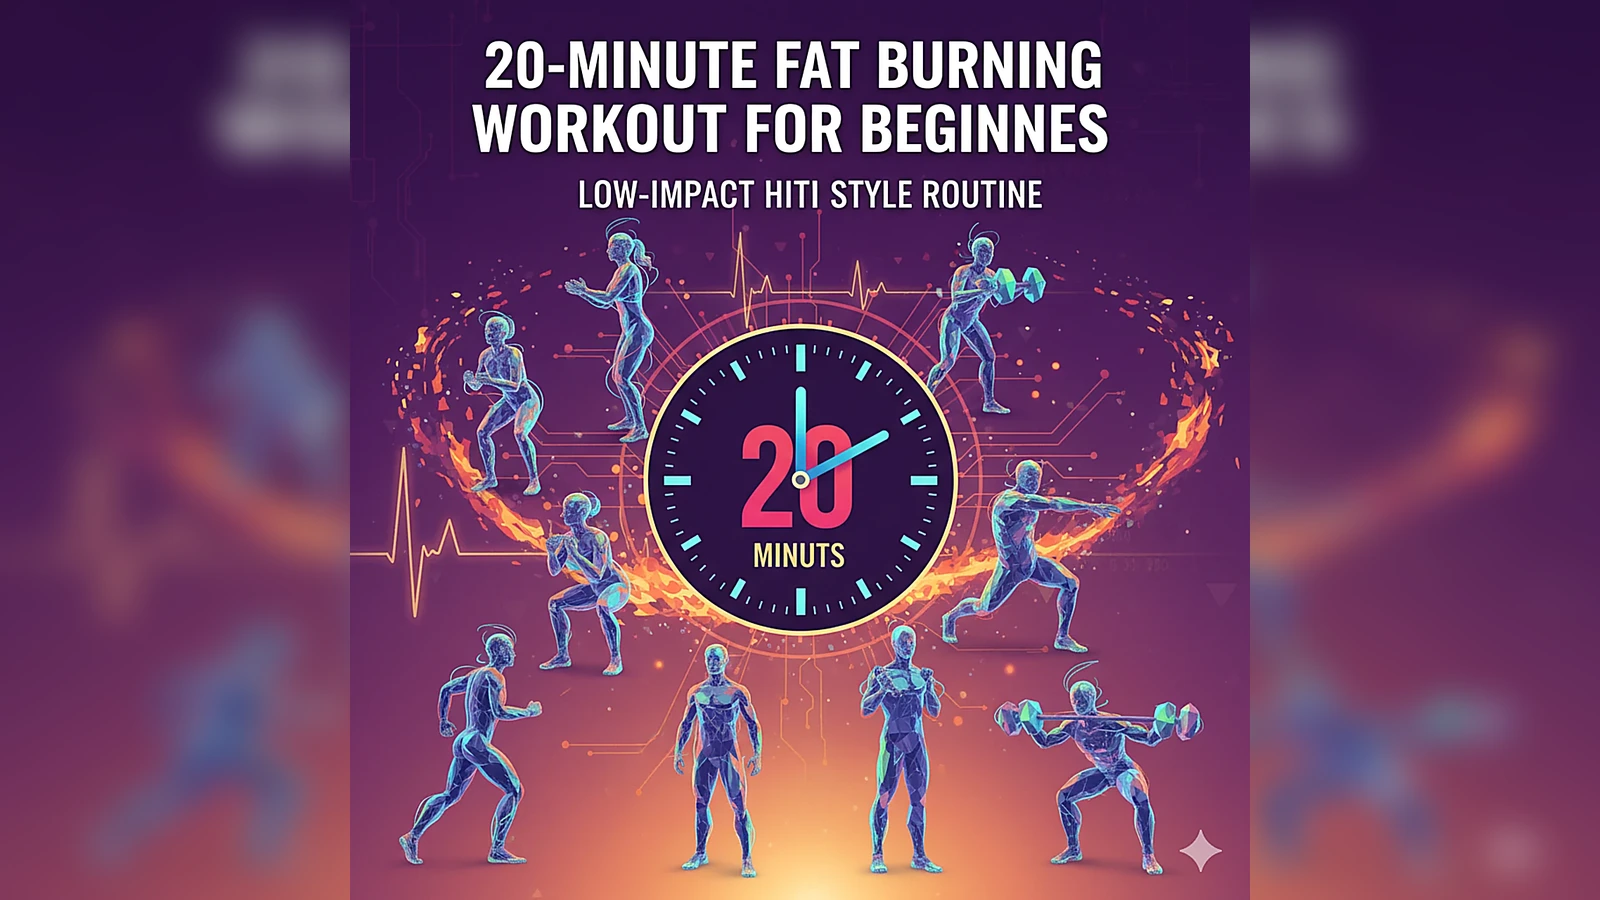
Here’s the truth: you don’t need 60 minutes to get a meaningful workout. A focused beginner workout routine at home that runs just 20 minutes, done consistently, will do far more for your fitness than an hour-long session you keep putting off.
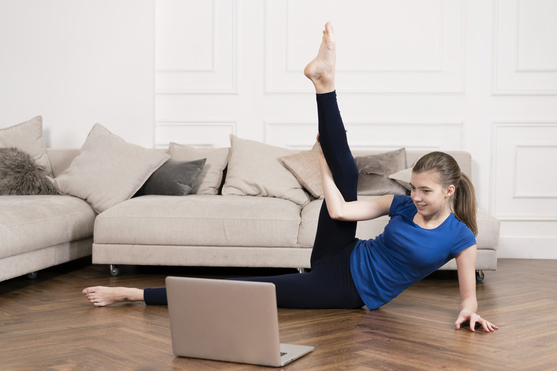
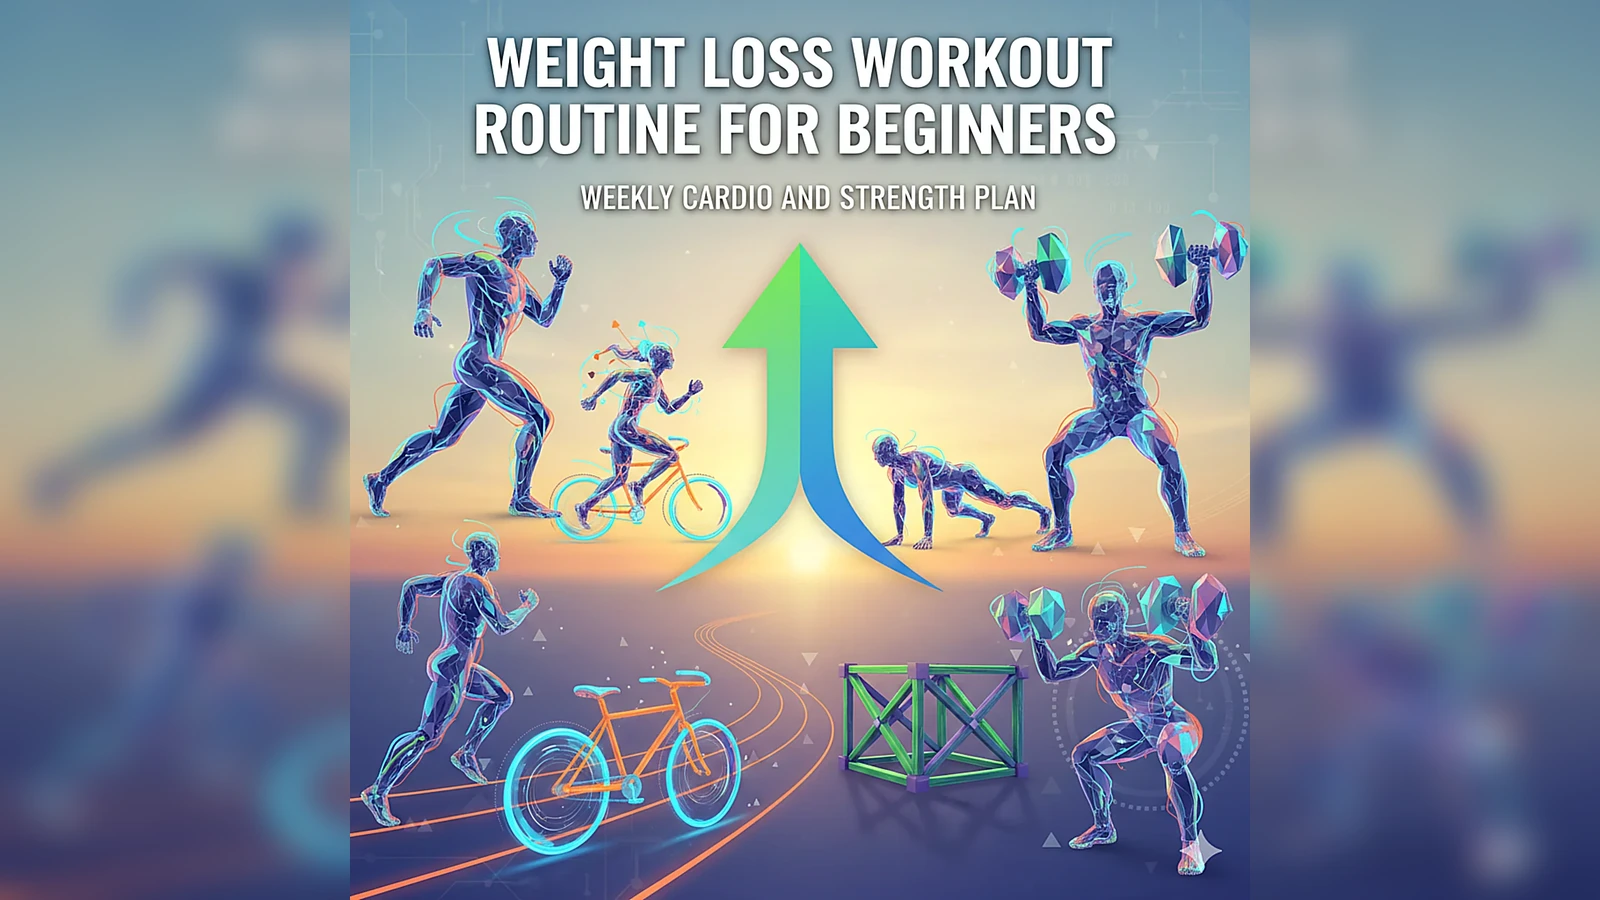
This guide gives you a complete, practical 20-minute full-body routine you can do in your living room, with zero equipment. We’ll cover exactly what to do, how to do it safely, and how to build enough momentum that this actually becomes a habit.
There’s a common belief that shorter workouts aren’t “real” workouts. That belief is worth challenging.
Research consistently shows that shorter, high-effort sessions can drive meaningful improvements in cardiovascular fitness, muscular endurance, and body composition — especially for beginners, whose bodies respond quickly to new physical demands. When you’re just starting out, the stimulus doesn’t need to be massive. It needs to be consistent.
Twenty minutes done three to four times per week outperforms a 90-minute session done once every two weeks. Volume matters less than regularity when you’re building a base.
The goal of this beginner routine isn’t to exhaust you. It’s to build the habit, the movement patterns, and the baseline fitness that make longer or more intense training possible down the road.
One of the best things about this routine is the barrier to entry: there isn’t one.
That’s it. No gym membership, no expensive gear, no setup time.
This session is divided into three phases: a brief warm-up, a structured bodyweight circuit, and a short cool-down. Each phase serves a specific purpose, and skipping any one of them — especially the warm-up — increases your risk of soreness or strain.
A good warm-up gradually raises your heart rate, loosens your joints, and primes your muscles for the work ahead. Don’t rush through this.
March in Place — 60 seconds
Lift your knees to hip height with each step. Swing your arms naturally. This gets blood moving without putting stress on your joints.
Arm Circles — 30 seconds forward, 30 seconds backward
Extend both arms and make slow, controlled circles. This opens up the shoulder joints and warms the upper back.
Bodyweight Squats (Slow) — 60 seconds
Stand with feet shoulder-width apart. Lower slowly to a comfortable depth — even a quarter squat is fine at this stage. This activates your hips, quads, and core before the harder work begins.
You’ll perform 5 exercises back-to-back with short rest between each. Complete the circuit twice through.
Exercise 1: Wall Push-Ups or Knee Push-Ups
If you’re brand new to exercise, start with wall push-ups — hands on the wall, body at an angle, bending and straightening your arms. Once this feels manageable, progress to knee push-ups on the floor. Both variations build chest, shoulder, and tricep strength without overwhelming beginners.
Form tip: Keep your core lightly engaged and your back straight throughout. Don’t let your hips sag.
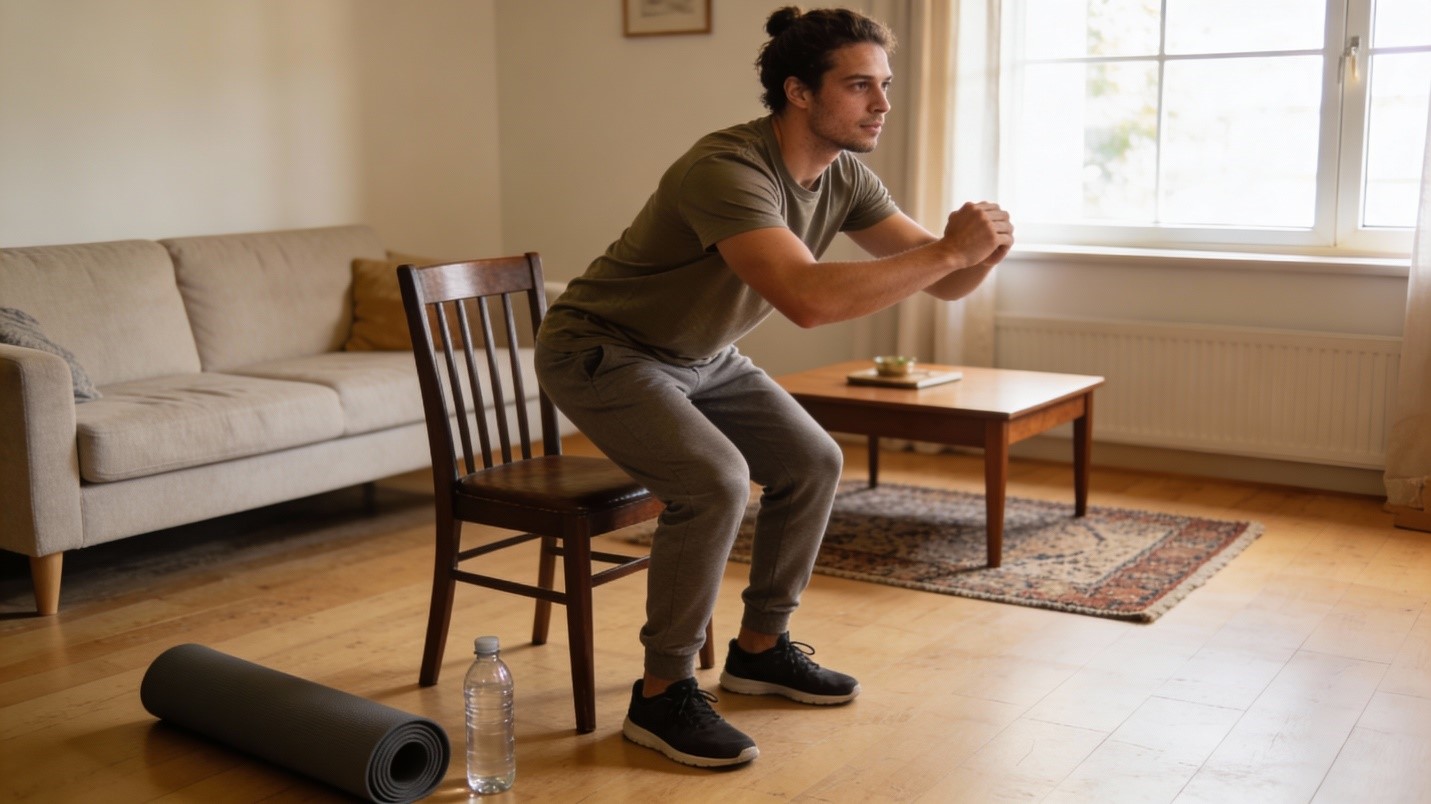
Exercise 2: Bodyweight Squats
Stand with feet slightly wider than hip-width. Lower your hips back and down as if sitting onto a low chair. Push through your heels to return to standing. This is one of the most functional movements you can train — your glutes, quads, and hamstrings all work together here.
Form tip: Keep your chest up and your knees tracking over your toes (not caving inward).
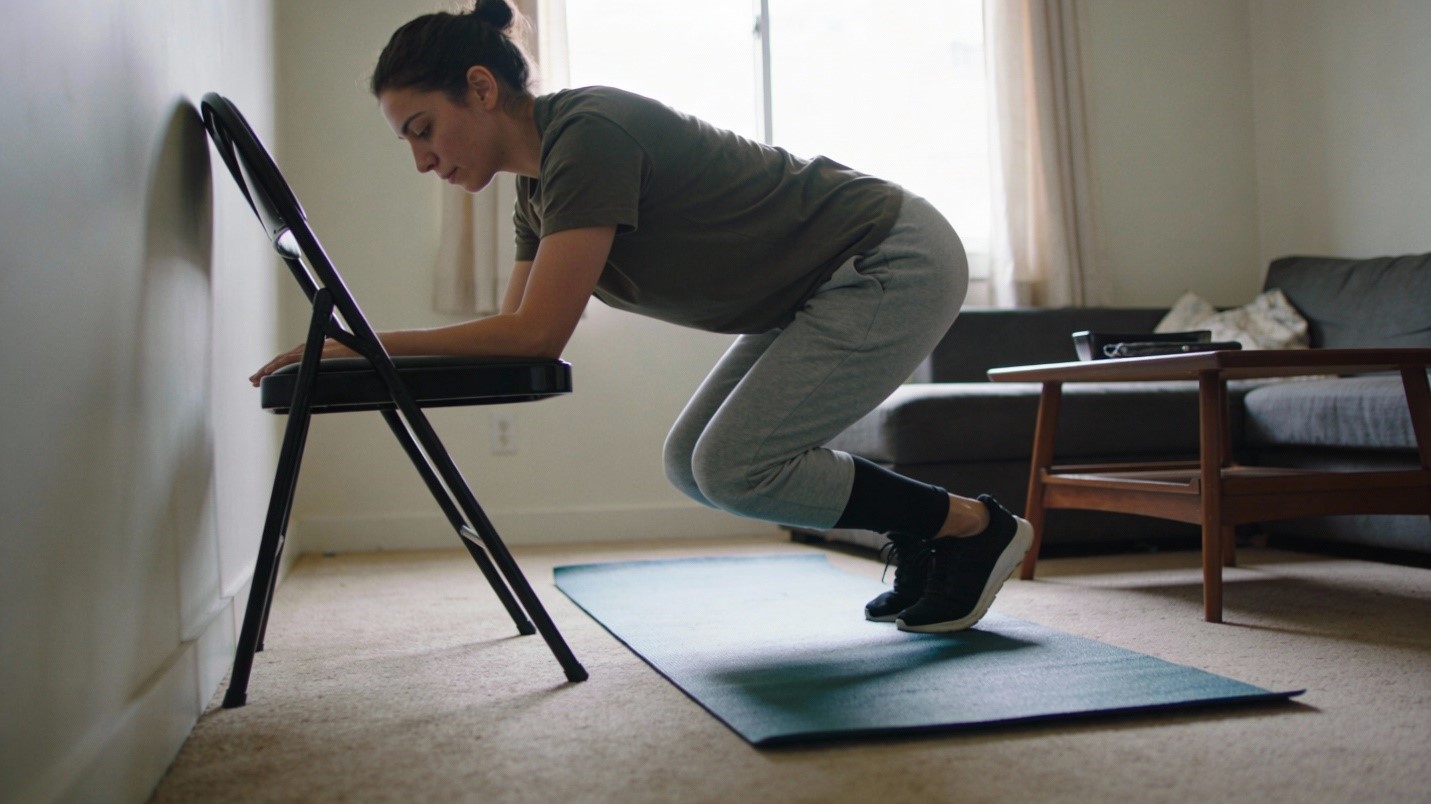
Exercise 3: Standing Alternating Reverse Lunges
Step one foot back, lower your back knee toward the floor (stopping before it touches), then return to standing. Alternate legs with each rep. Reverse lunges are gentler on the knees than forward lunges and are ideal for beginners building single-leg strength and balance.
Form tip: Keep your front shin vertical — avoid letting your front knee shoot too far forward over your toes.
Exercise 4: Modified Plank Hold
Place your forearms on the floor, elbows under your shoulders. Extend your legs and hold your body in a straight line — or drop to your knees for a modified version. This trains your core, stabilizes your spine, and builds the foundation for almost every other compound movement.
Form tip: Breathe steadily. Avoid holding your breath, and keep your hips level — no hiking them toward the ceiling.
Exercise 5: Glute Bridges
Lie on your back with your knees bent, feet flat on the floor. Press through your heels to lift your hips until your body forms a straight line from shoulders to knees. Hold briefly at the top, then lower slowly. This activates your glutes and hamstrings while being low-impact and accessible for nearly all fitness levels.
Form tip: Squeeze your glutes actively at the top of each rep. Don’t just go through the motions.
Rest 60 seconds, then repeat the circuit once more.
Cooling down helps bring your heart rate down gradually, reduces post-workout stiffness, and signals to your nervous system that the session is complete.
For beginners, three sessions per week is the sweet spot. This gives your muscles adequate time to recover while building consistency. A good starting schedule might look like Monday, Wednesday, Saturday — you’ll still have full rest days between each session.
If you’ve also been exploring structured home workout progressions — like the three-level approach outlined in Beginner Home Fitness Routine: 3 Levels of Progression In Your Living Room — this 20-minute routine fits neatly as a Level 1 entry point before you advance.
This routine will feel challenging at first. After two to three weeks, you’ll notice it getting easier — and that’s exactly what you want. It means your body is adapting. Signs you’re ready to progress:
At that point, start progressing the difficulty: increase work intervals to 50 seconds, add a third circuit round, transition from wall or knee push-ups to full push-ups, or add a sixth exercise such as jumping jacks, step-ups, or hip hinges.
For a structured plan that maps this progression week by week, the Beginner Fitness Routine: 4-Week Starter Plan offers a clear roadmap for building on this foundation.
One practical way to make this routine seamless is to use a free interval timer app rather than watching a clock. Apps like Tabata Timer (iOS/Android) or Seconds Pro let you program custom work/rest intervals so you can focus on moving instead of counting.
Set your intervals to 40 seconds on, 20 seconds off, with a 60-second break between circuits. Press start and just follow the audio cues.
If 20 minutes still feels hard to find, consider what you can replace rather than add. The five minutes you spend scrolling before bed, the gap between meetings that usually gets wasted, these are real windows.
The same principle applies to your fitness. Twenty intentional minutes, three times a week, for eight weeks, that alone will transform how you feel, move, and approach the rest of your training.
You don’t need a gym, a trainer, or an hour to spare. You need a clear plan, a small space, and 20 minutes you’re willing to protect.
This beginner workout routine at home gives you everything you need to start building real fitness right now. The five exercises in this circuit cover your full body, require no equipment, and scale as your strength improves. This is the get-fit routine for beginners that actually works — because it’s built around your real life, not an ideal one.
Start with three sessions this week. Keep it simple. Track how you feel after each session, not just during it, and watch that feeling improve over the weeks ahead.